How To Install
By Kainat Quaderee
Published on Jun 2, 2025
Prerequisites Before you begin, make sure you have:
go to kainat os official website and download the iso file.
(Optional but highly recommended) Verify the SHA256 checksum:
In the same release entry, there should be a file named SHA256SUMS (or similar).
Download that checksum file as well.
Open a terminal (or Command Prompt/PowerShell on Windows) and run:
# On Linux or macOS:sha256sum KainatOS-<version>-amd64.iso

# On Windows (PowerShell):Get-FileHash .\KainatOS-<version>-amd64.iso -Algorithm SHA256
Compare the printed checksum to the one listed in SHA256SUMS. They must match exactly.
You can create a bootable USB stick from Linux, Windows, or macOS. Choose the instructions matching your current OS:
Using dd (command‐line)
Identify your USB device
Plug in the USB stick.
Run:
lsblk
Find the entry corresponding to your USB (e.g., /dev/sdb). Double‐check size to avoid overwriting your main disk.
Unmount any mounted partitions
sudo umount /dev/sdX?*
Replace sdX with your actual device (e.g., sdb).
Write the ISO
sudo dd if=~/Downloads/KainatOS-<version>-amd64.iso of=/dev/sdX bs=4M status=progress oflag=sync
if= should point to where you saved the ISO.of= is the device (without any partition number).bs=4M speeds up the write.status=progress shows progress.oflag=sync ensures data is written fully.Eject the USB
sudo eject /dev/sdX
Using a GUI Tool (e.g., Balena Etcher or GNOME Disks)
Balena Etcher
GNOME Disks (Ubuntu/GNOME)
Using Rufus
Using balenaEtcher (same steps as Linux GUI instructions).
Using dd
Insert the USB stick.
Open Terminal.
List disks:
diskutil list
Identify the USB’s disk identifier (e.g., /dev/disk2).
Unmount the USB:
sudo diskutil unmountDisk /dev/diskN
Replace diskN (e.g., disk2).
Use dd to write:
sudo dd if=~/Downloads/KainatOS-<version>-amd64.iso of=/dev/rdiskN bs=4m
rdiskN (raw device) is faster.Eject when done:
diskutil eject /dev/diskN
Using balenaEtcher
Insert the USB stick (or DVD) into the target computer.
Reboot the computer.
Enter the Boot Menu
Select the USB (or DVD) drive from the boot options.
Press Enter and the system should start the KainatOS live environment.
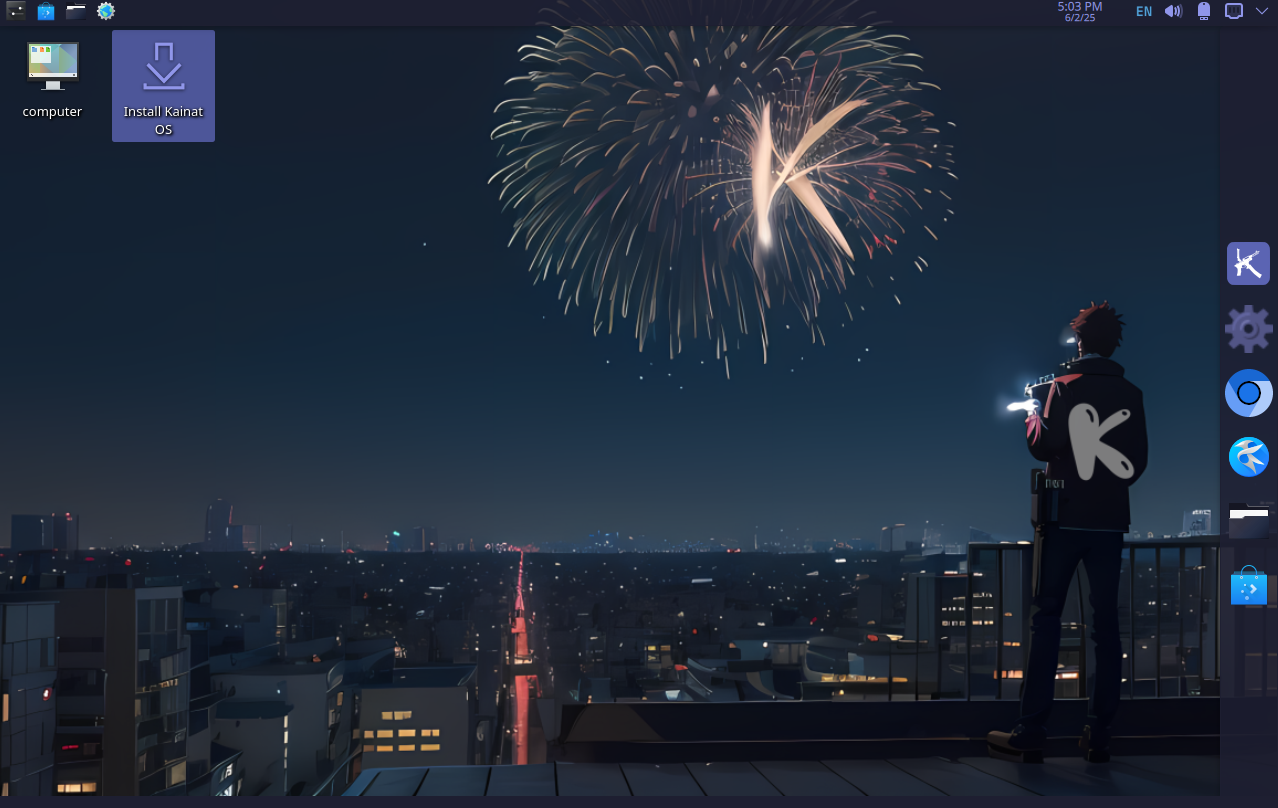
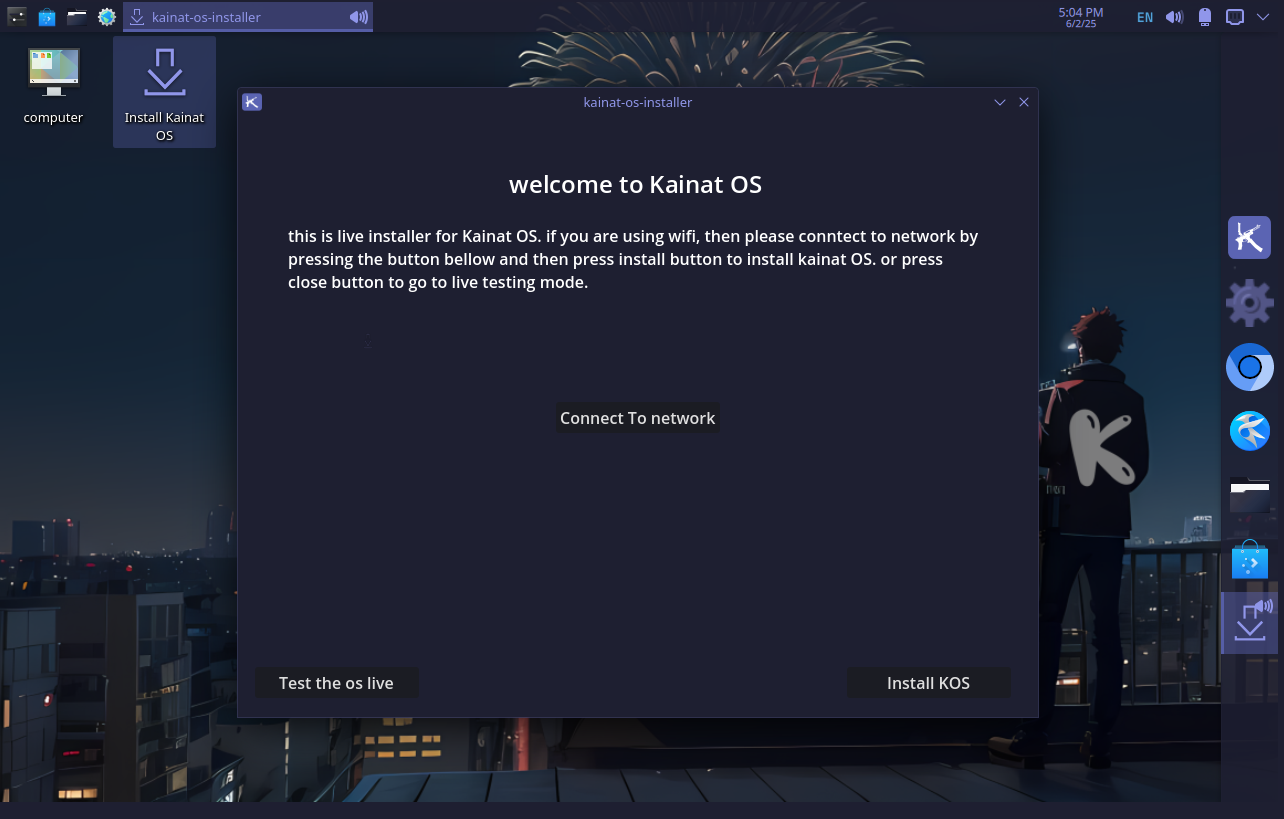
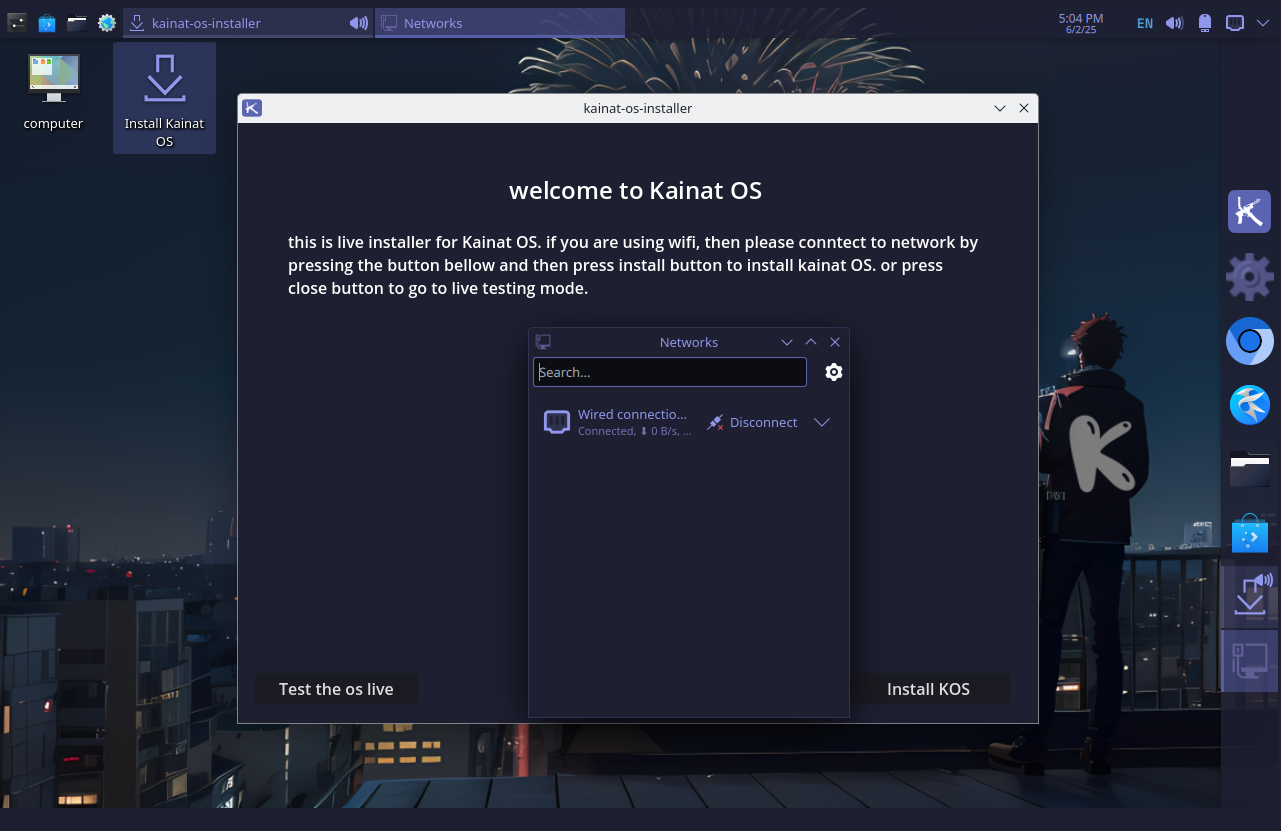
Once booted into the live environment, you will see the KainatOS desktop (KDE Plasma with our custom theming). Follow these steps:
On the desktop, locate and double‐click the “Install KainatOS” icon (this is a Calamares‐based installer with our branding).
Language selection:
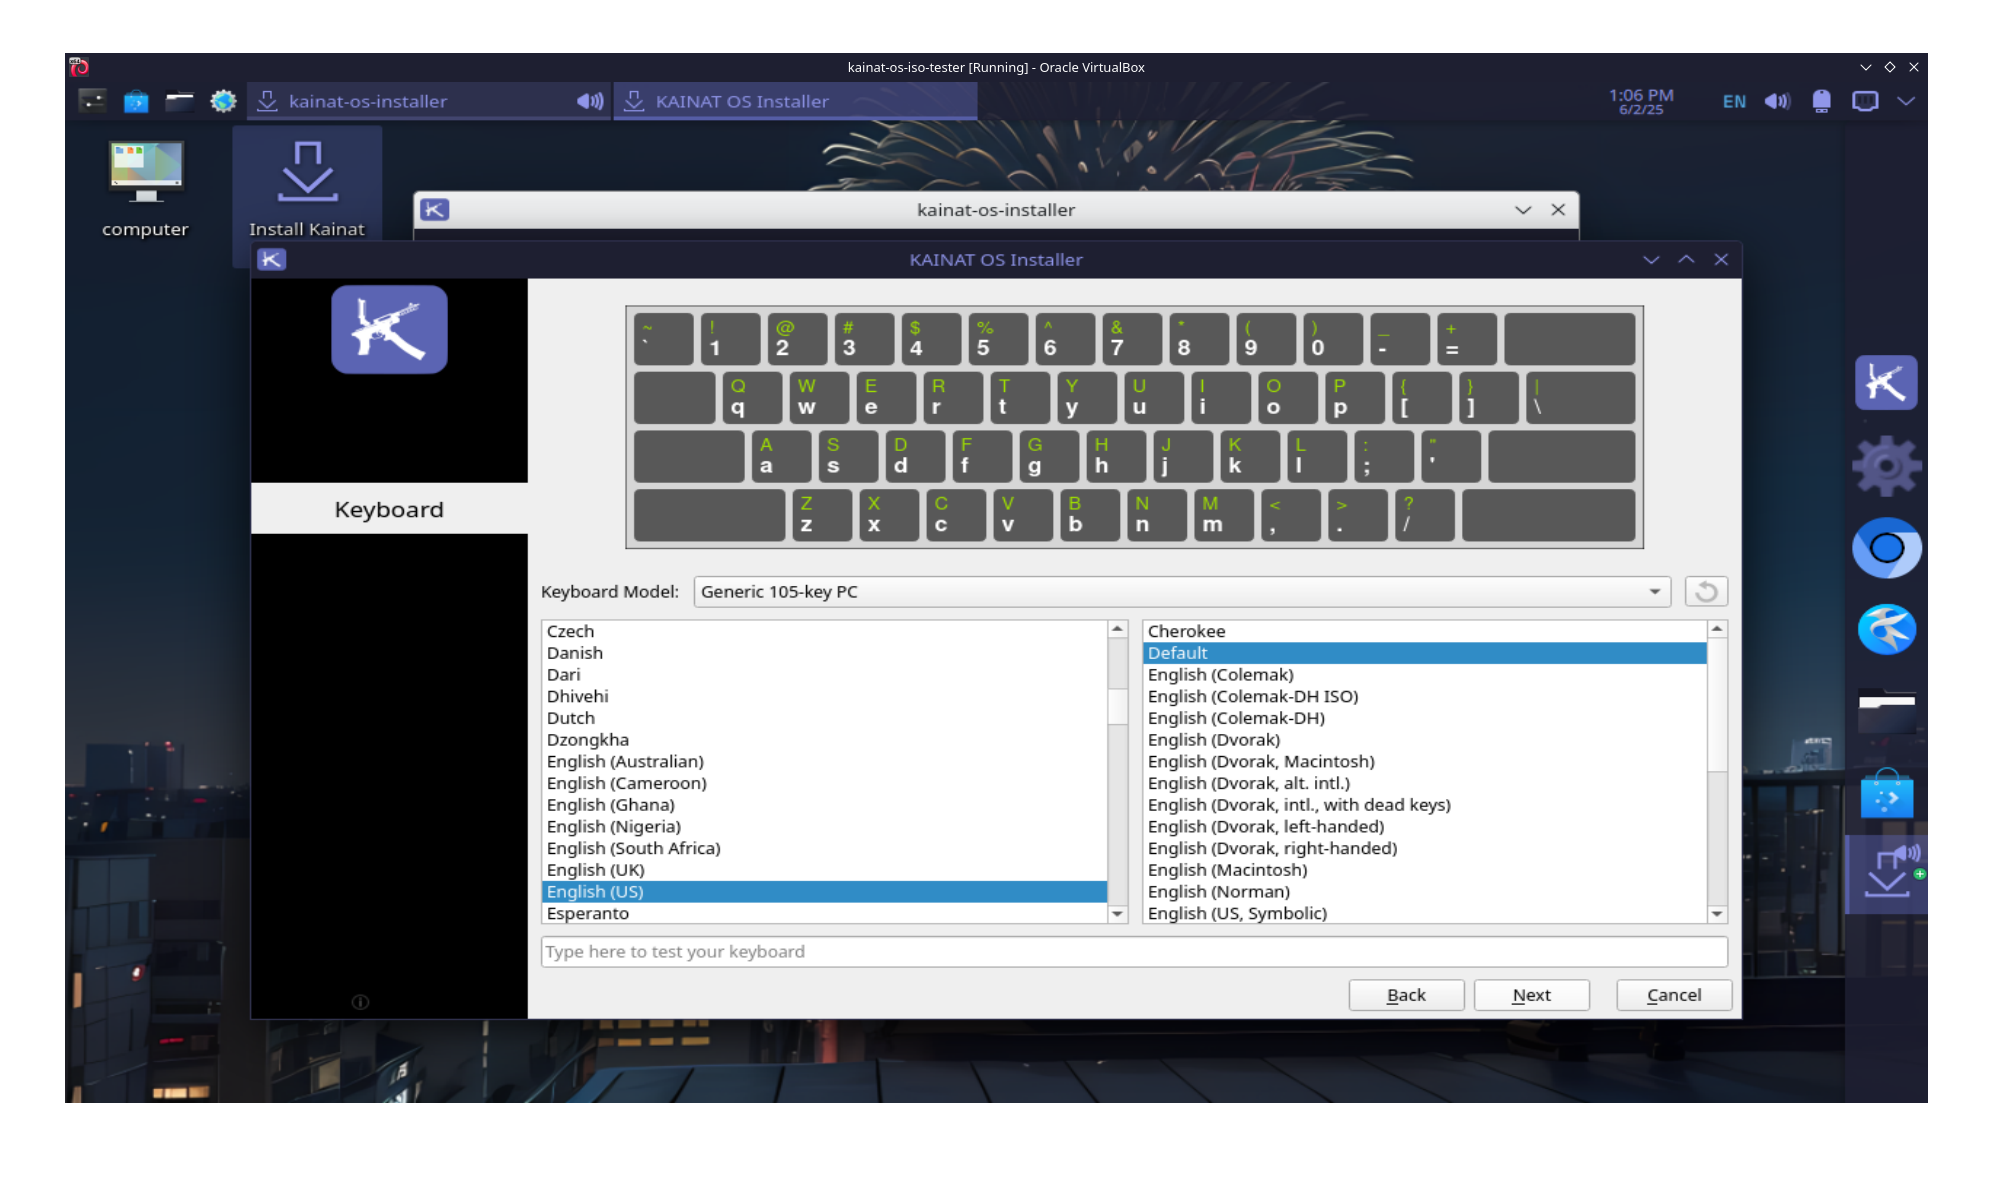
Keyboard layout:
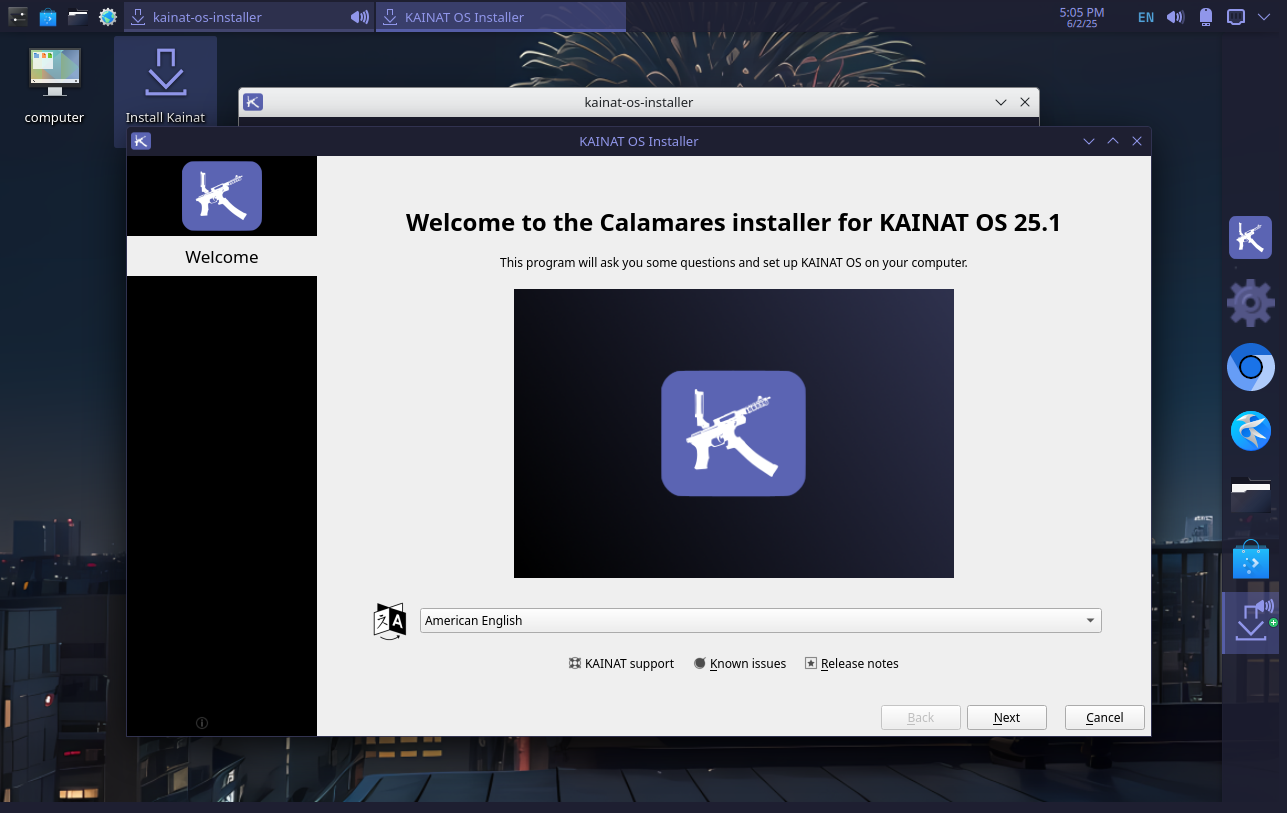
Click “Next”. 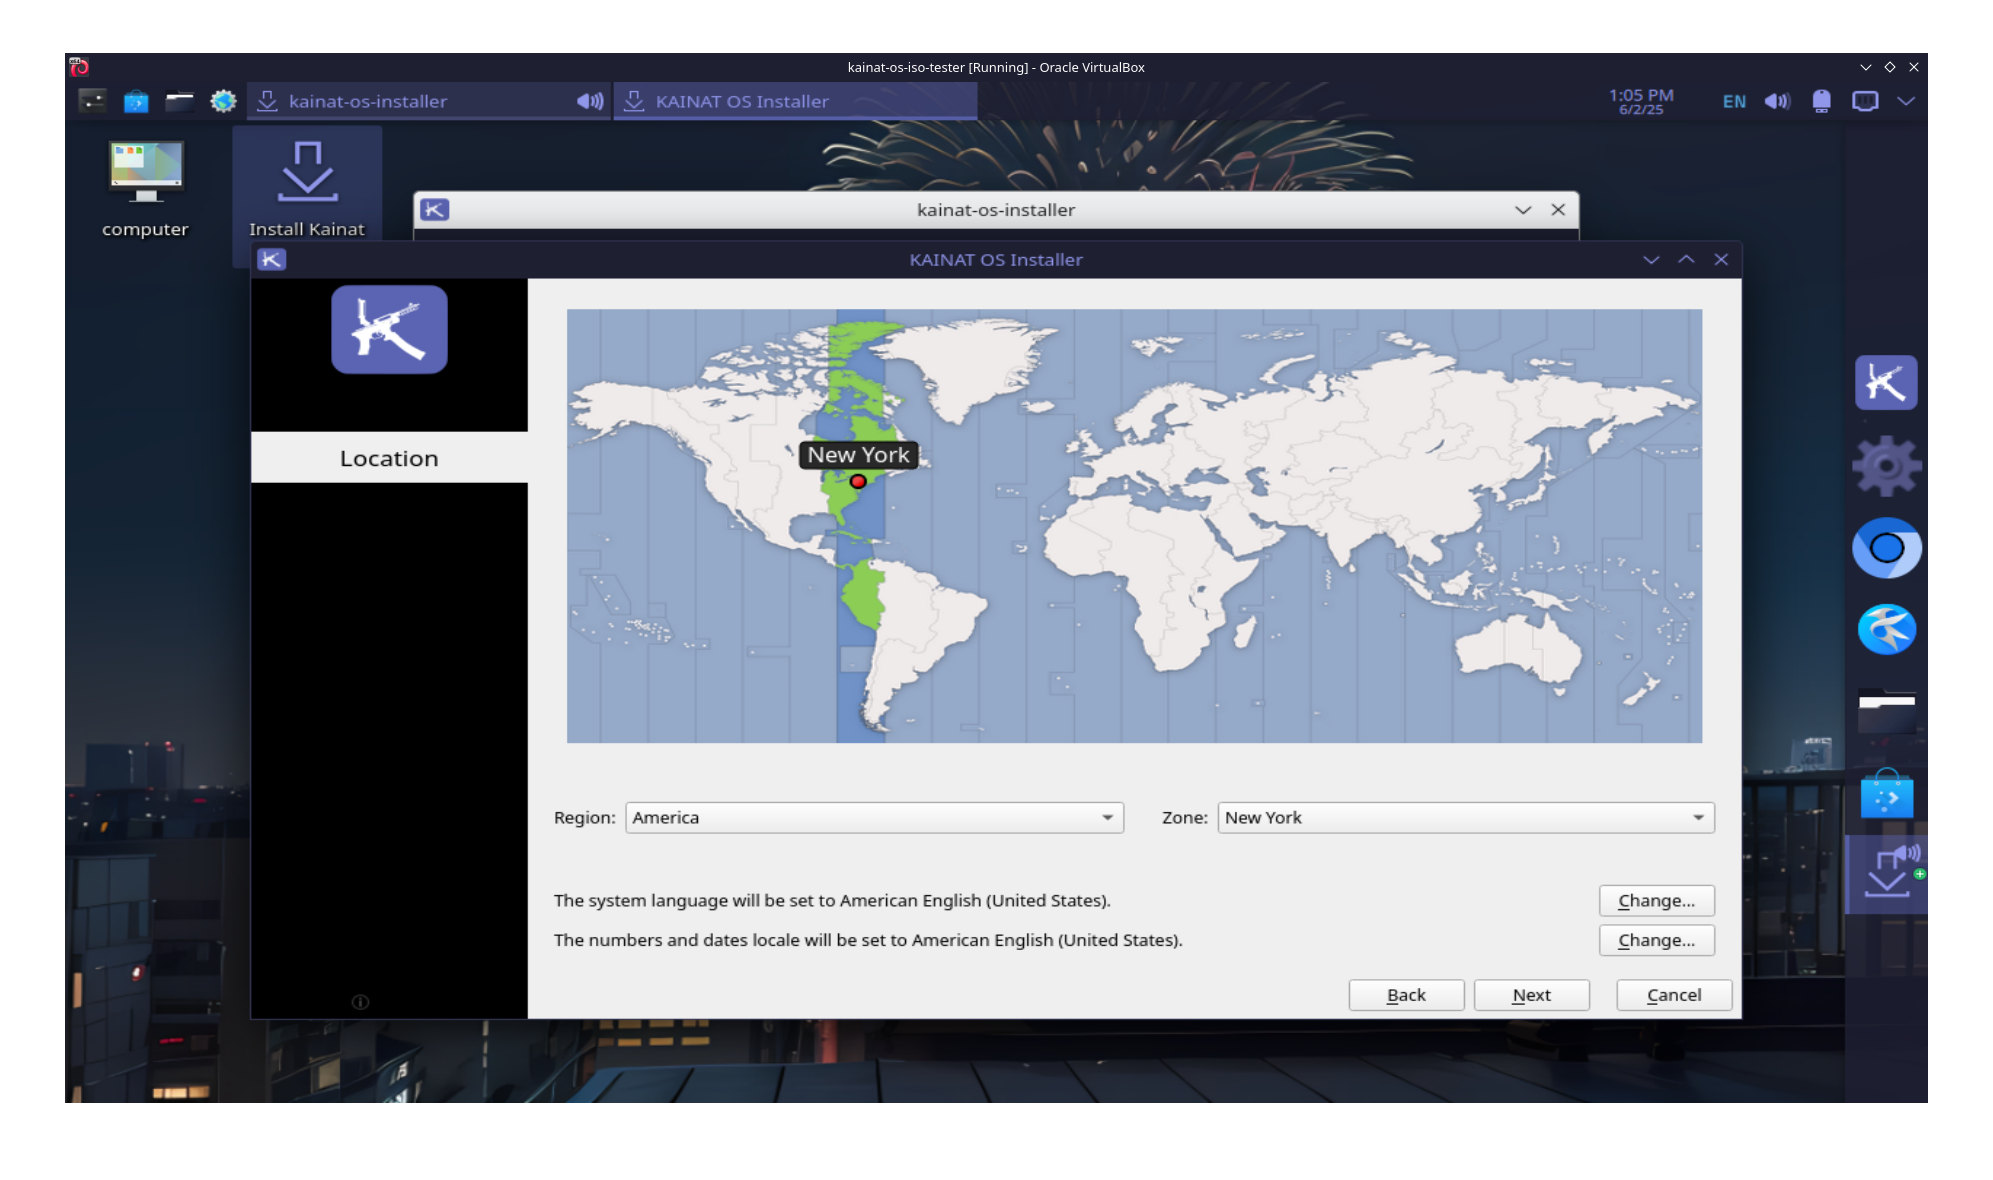
 You have two main options:
The installer will automatically:
/) with the remaining space, formatted as ext4.Select “Something else”.
Click “Next”.
In the partition table dialog:
EFI partition: If you already have an EFI partition (≥ 512 MB, formatted FAT32), select it, click “Change,” set “Use as” to “EFI system partition.”
Root (/) partition:
/.Swap area (optional if you have plenty of RAM, but recommended if ≤ 8 GB RAM):
Verify partitioning layout in the summary.
Ensure that the “Device for bootloader installation” points to the correct drive (e.g., /dev/sda).
Click “Install Now”.
Confirm changes when prompted.
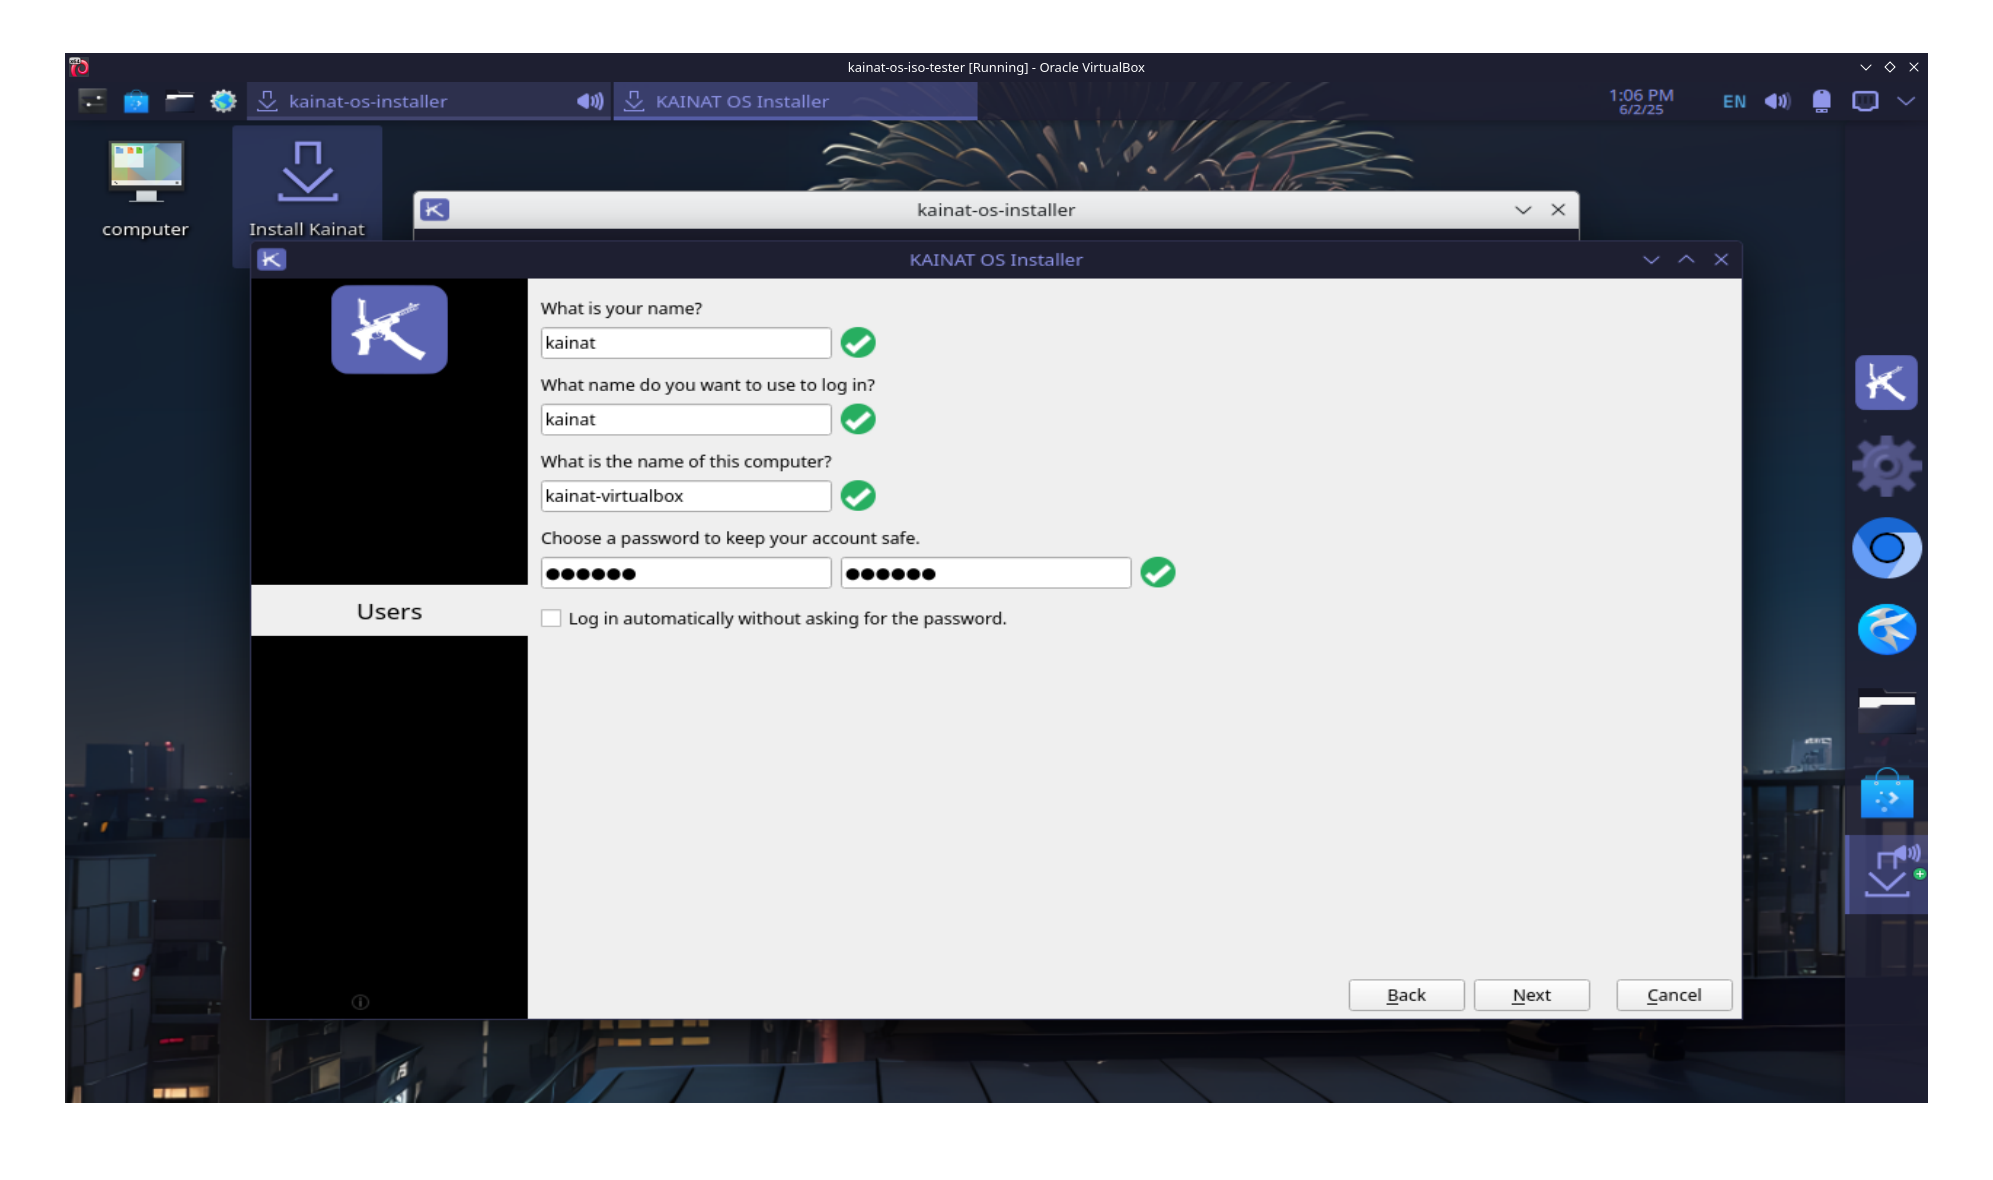
kainat-laptop).kainat).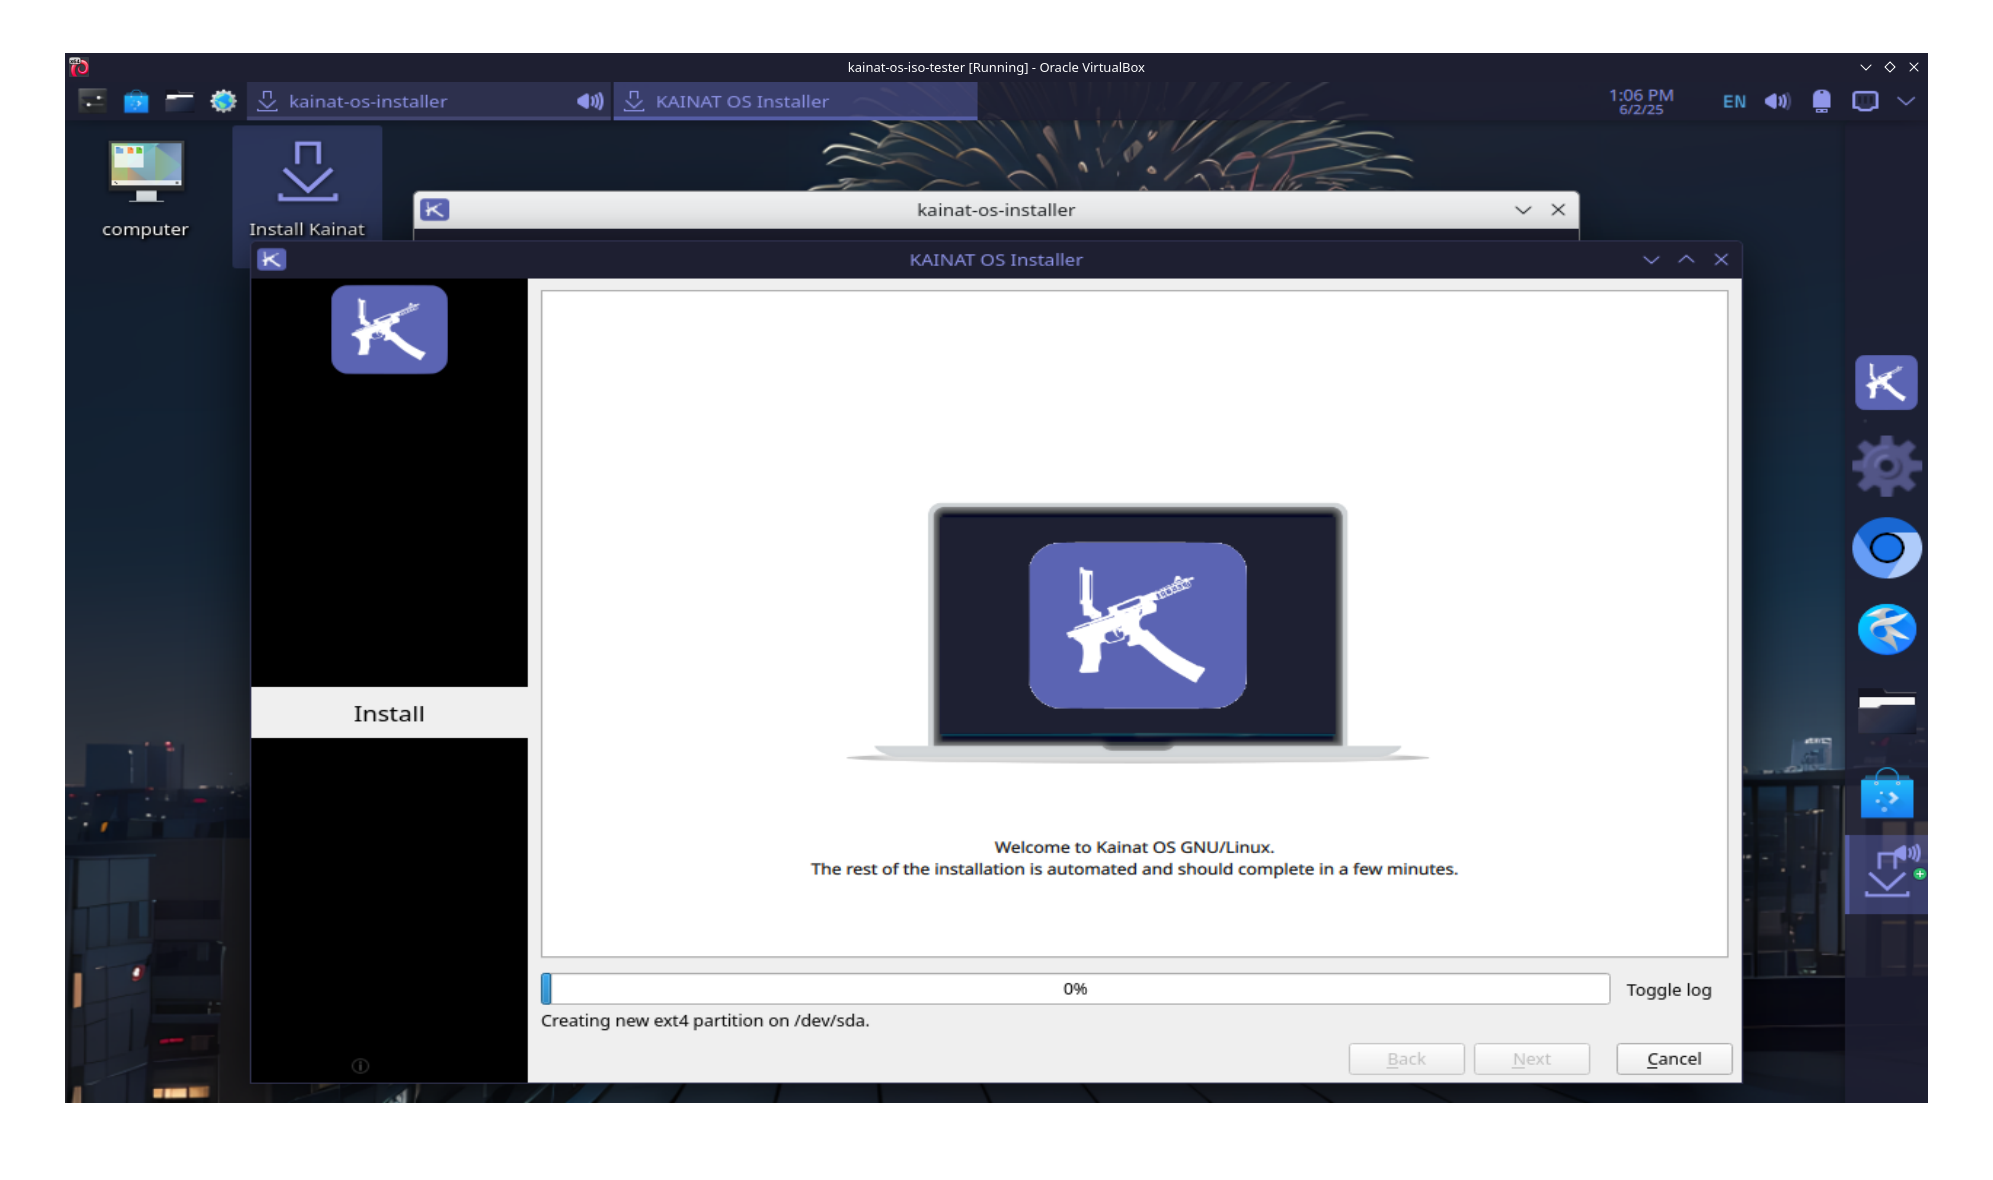
Once you log in for the first time, consider these recommended steps:
KainatOS is based on a frozen snapshot of Debian Sid (via snapshot.debian.org), but some updates or branding packages may need refreshing. Open a terminal (Konsole) and run:
sudo apt update
sudo apt full-upgrade
If your machine has an NVIDIA GPU and you want the latest proprietary driver:
sudo apt install nvidia-driver-kainatos
Reboot after installation:
sudo reboot
open discover and search for nvidia-driver-kainatos
kwinrc and compositor settings in /etc/xdg/kdeglobals and /etc/xdg/kwinrc to reduce input lag and improve frame pacing.Boot hangs or black screen:
nomodeset after quiet splash on the linux line.No Wi-Fi detected:
Check if a proprietary firmware package is missing. Run:
sudo apt install firmware-iwlwifi
sudo modprobe -r iwlwifi && sudo modprobe iwlwifi
Installation fails due to disk layout:
/boot/efi.By following this guide, you will have:
Enjoy exploring KainatOS—a Debian Sid snapshot distribution optimized for KDE and gaming!